.svg)
How to Set Distance-Based Shipping Rates in Shopify (2026)
Last updated on
October 12, 2026
.png)
Last-mile delivery is the most expensive part of getting an order to a customer. A Capgemini Research Institute study found it makes up 41% of total supply chain costs. When you run your own shipping, you pay for every mile of it in fuel, driver hours, and vehicle wear.
Now picture two customers ordering the same piece of furniture. One lives 2 miles away, the other lives 25 miles away. The longer trip costs you more to fulfill, but at Shopify checkout, both customers pay the same shipping fee.
So every long trip at a flat rate eats into your earnings, and the farther you ship, the more you lose.
Distance-based shipping rates fix this. Customers pay based on how far their order actually travels from your store or warehouse. Customers living 2 miles away pay less, customers living 25 miles away pay their fair share, and you stop losing margin on long trips.
Quick Answers:
- Shopify’s regular shipping settings can’t price by distance.
- Its Local Delivery feature can charge different flat rates for up to 10 radius zones, but it measures straight-line distance and can’t combine distance with weight, product, or other conditions.
- For rates based on actual driving distance, combined with other conditions, you need a shipping-rate app like ShipX, a Google Maps API key, and a Shopify plan with CCS.
In this guide, you will learn how to set up native rates, their limitations, and when to use a dedicated shipping app.
Does Shopify support distance-based shipping rates?
Not in its standard shipping settings. Shopify shipping zones are built around regions, not miles or kilometers. There’s no setting that measures the distance to a customer and prices shipping from it.
The closest native option is Local Delivery. It lets you offer delivery with rates based on a distance radius, and you can set up to 10 zones with their own delivery rates. Shopify measures this radius in a straight line from your location to the customer’s address, not by road.
How to set up a delivery radius in Shopify Local Delivery
- Go to Settings > Shipping and delivery > Local Delivery.
- In the Local delivery section, select your location.
- Under the Delivery zone, select Set a delivery radius.
- Enable the Include neighboring states or regions option to include them in the delivery radius calculation.
- Set the radius unit and preferred currency for local delivery rates.
- Click + Zone, add your zone name, set a minimum order price, delivery radius, and the delivery rate. Click Save.
Native Local Delivery limitations
Local Delivery is a good start, but it has clear limits:
- The radius is capped. Local delivery radius must be under 160 km or 100 miles.
- Zones are limited. You can set only 10 zones per fulfillment location.
- No per-mile pricing. You can’t charge a rate per km or mile.
- Pricing is basic. Each zone gets a flat price and a minimum order value. You can’t combine distance with weight, product type, or customer tags.
How to set up distance-based shipping rates in Shopify using ShipX
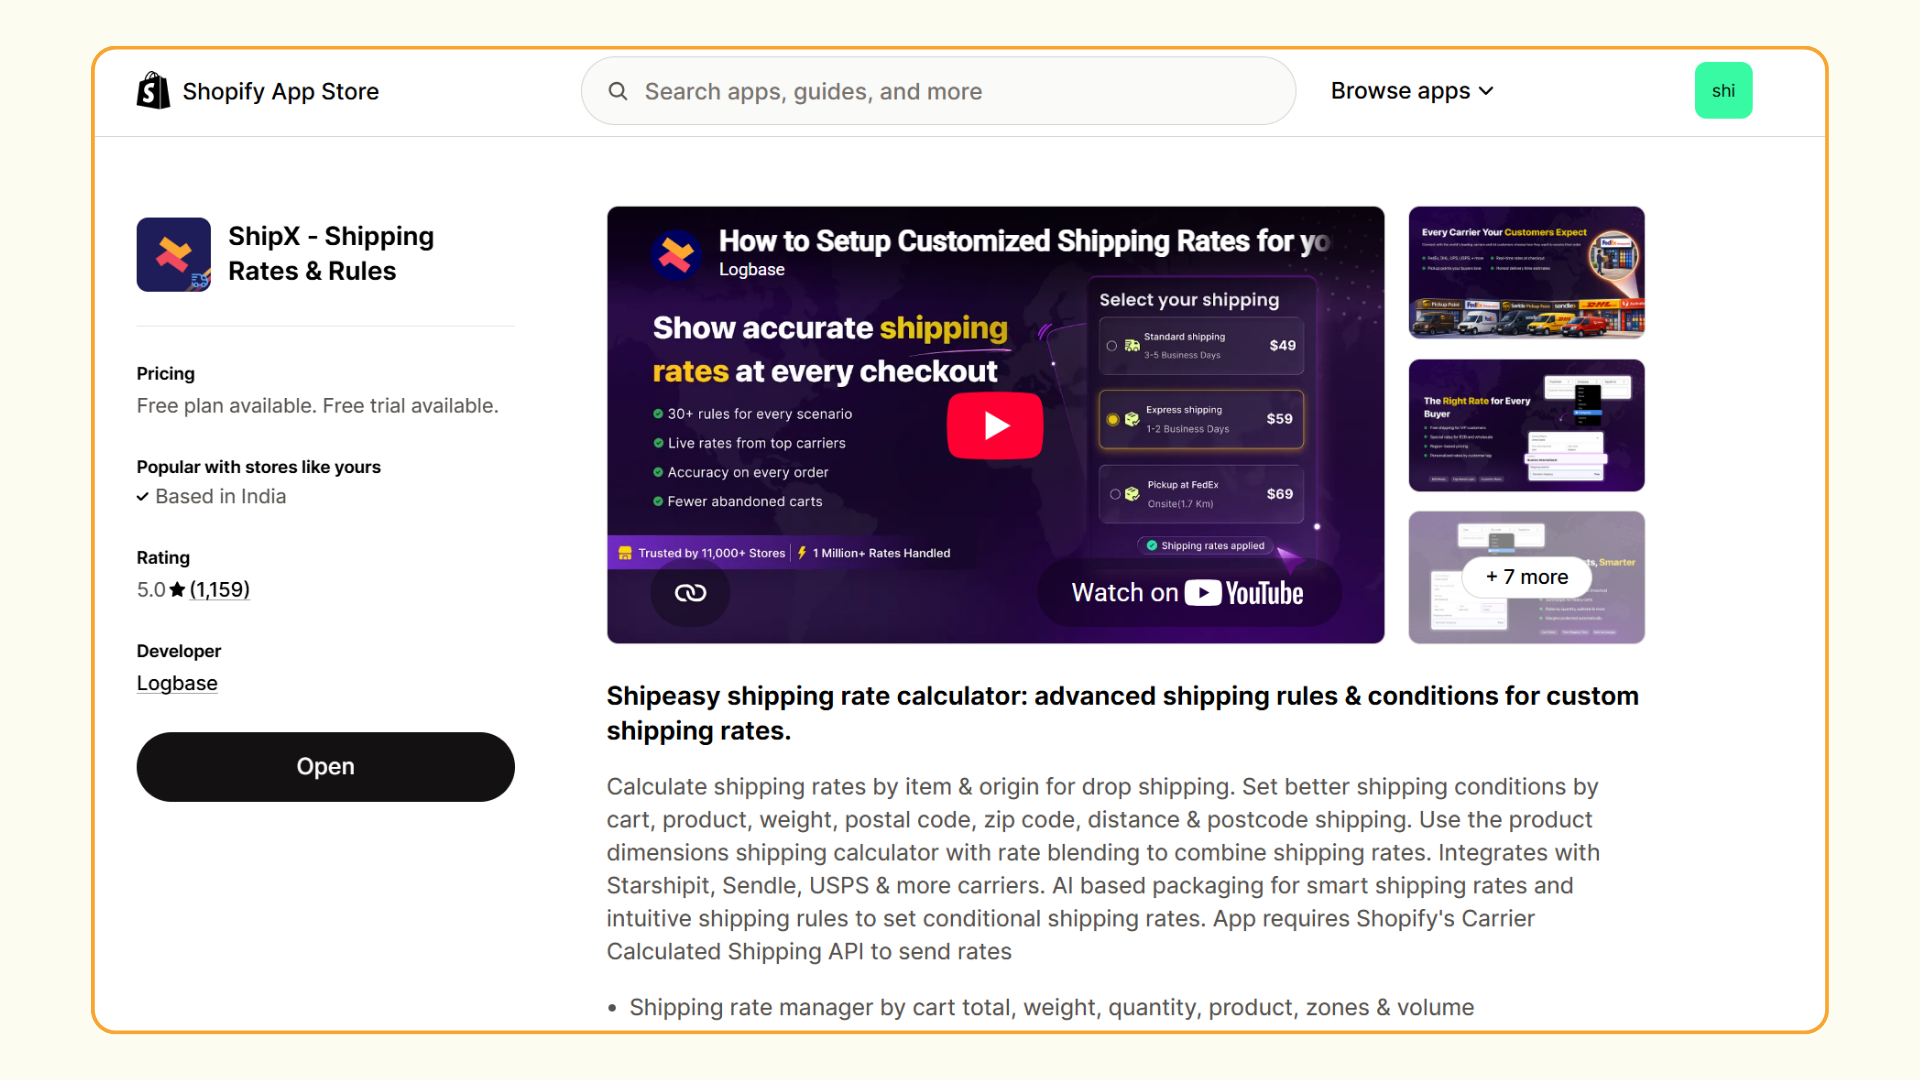
ShipX (formerly Shipeasy) is a Shopify shipping rules app. It uses Google’s Routes API to measure the actual road distance from your fulfillment location to the customer’s address at checkout and shows the rate you set for that distance.
Before you start, you’ll need three things:
- Carrier Calculated Shipping (CCS) on your Shopify plan. ShipX sends rates to checkout through this API.
- A Google Maps API Key. ShipX uses it to measure distance. Without a valid key, distance rates won’t work.
- An accurate location address in Shopify. Every distance is measured from your fulfillment location, so check it under Settings > Locations.
Which Shopify plans include CCS?
What does Google Maps cost?
ShipX only uses Google’s Routes API, so that’s the only Maps API you pay for. The Routes API gives you 10,000 free requests a month. After that, it costs $5 for every 1,000 extra requests. So if you use 12,000 requests in a month, you pay only for the extra 2,000, which comes to about $10. Prices can change, so check Google’s pricing page for current numbers.
Step 1: Get a Google Maps API Key
- Go to Google Cloud Console and sign in with your Google account.
- Click on My Project (near the Google Cloud logo, top left), then click New Project.
- Enter a name for your project and click Create.
- Open the Billing page and click Link a billing account.
- Create a billing account and complete the payment details. Google needs this even if you stay within the free usage.
- Go to APIs & Services > Library.
- Search for Routes API, open it, and click Enable.
- Go to APIs & Services > Credentials.
- Click Create Credentials > API Key and copy it.
Step 2: Integrate Google Maps with ShipX
Once you have your Google Maps API key, follow these steps:
- In the ShipX app, go to Settings > Integrations.
- Turn on Google Maps and paste the API key.
- Click Validate API key.
- Set the preferred Distance - Travel mode and click Save.
Want distances in miles instead of kilometers (or the other way around)? Go to ShipX > Settings > Basic app setup and change the distance metric.
Step 3: Set distance-based conditions and shipping rates
In ShipX, a scenario decides when a group of rates applies. Let’s go back to the two customers from the start. One lives 2 miles from your store. The other lives 25 miles away. Here’s how to make each one pay a fair fee:
Create the scenario:
- Go to the Rates section in ShipX.
- Click View on Scenarios, then Create scenario.
- Give it a clear name, such as Local Shipping.
- Click Add condition and set: Cart > Distance > Less than or equal to > 30 miles. Click Add, then save the scenario.
Add the shipping rate:
- Under Shipping rates, select the zone where you want the rate.
- Click Add shipping rate.
- Enter the rate name customers will see at checkout, such as Local Delivery.
Add distance tiers:
- Scroll down and open the Criteria dropdown.
- Choose Cart > Distance.
- Click Add tiered rate and set your tiers:
- 0 to 10 miles = $5
- 10.01 to 30 miles = $15
- Click Add.
The customer 2 miles away now pays $5. The customer 25 miles away pays $15. Anyone farther than 30 miles won’t see this rate at all.
Alternative method: Incremental rate per mile
Instead of fixed tiers, you can charge a base rate and add a set amount for every few miles after that. Under Add distance tiers:
- Choose Cart > Distance.
- Select Base value with increment.
- Click Add incremental rate.
- Set the Base rate, Incremental rate, Per each, and Skip incremental rate fields.
- Click Add.
For example, to charge $5 for the first 10 miles and $5 more for every 5 miles after that, set:
- Base rate: $5
- Incremental rate: $5
- Per each: 5 miles
- Skip incremental rate for: 10 miles
The customer 2 miles away pays $5. The customer 25 miles away pays $20.
Combine distance with other ShipX conditions
Distance is just one condition in ShipX. You can add more conditions to the same scenario to build rules that fit your business. For example:
- Distance + order value: Give free delivery to customers within 10 miles on orders over $100.
- Distance + weight: Charge more for heavy orders that travel over 20 miles.
- Distance + products: A separate rate for fragile items at every distance.
- Distance + multiple conditions: Combine distance with weight, order value, or other supported conditions.
To do this, click Add condition again when you create your scenario and pick the extra condition you need.
Step 4: Test your distance-based rules
Before making your shipping rates live, test them with different addresses and order combinations to ensure the rules work as intended.
How distance-based shipping rates work after setup
Once you complete the setup and testing, here’s how the rates will work on your Shopify checkout:
- The customer enters their delivery address.
- The app measures the distance from your store or warehouse to that address using Google Maps.
- The app matches that distance to the rate you set (for example, 0 to 10 miles is $5, 10.01 to 30 miles is $15).
- The customer sees the right shipping price instantly.
Do you need an app?
Shopify’s Local Delivery covers the basics, but it prices by straight-line distance. If a river, highway, or hill sits between you and your customer, they can pay a rate that doesn’t match the real trip.
When you need rates based on actual driving distance, or tiered distance rates that work with other conditions, ShipX and a Google Maps API key get you there in four steps.

.avif)
.avif)
.svg)
.svg)
.svg)


.svg)